Direct-to-film (DTF) printing is emerging as one of the simplest and most dependable ways of producing custom-made clothing. Whether you are interested in running a small-scale business or just printing a single T-shirt at home, DTF printing helps you in all manners. It provides bright colours, good prints, and can be applied to nearly all types of fabric.
Modern DTF printers print faster and more consistently, even for beginners. This guide explores how the DTF process works and what distinguishes it from other printing approaches.
Step-by-Step Breakdown of the DTF Printing Process
Designing the Artwork
All DTF prints start with a digital high-resolution print. Most of the designers usually create artwork in graphic software, such as CorelDRAW, Photoshop or Adobe Illustrator. In these programs, outlines, colours, and transparency are appropriately settled to achieve the best output.
Issues to consider in the design preparation include:
· Setting the design to 300 DPI
· Mirroring the design before printing
· Managing colours adequately.
· A layer of white ink is prepared separately.
The white layer is vital for making the background opaque and for giving the design a distinctive feature in dark garments.
Printing on PET Film
The design is embossed onto a transparent PET film. It is a heat-resistant film that is designed to contain ink without bleeding or smudging.
A DTF printer deposition places the ink in two layers:
· At the initial stage, CMYK colours are printed.
· White ink is printed on top of the colours as a solid backing layer.
This reverse version makes the printed pattern appear bright and uniform on any garment.
Applying Hot-Melt Adhesive Powder
In this process, a thermoplastic polyurethane (TPU) powder is used. Spray the granular adhesive powder over the area where the printing occurs, ensuring that the ink is still wet.
Its functions include:
· Bonding ink to fabric.
· Adding maximum durability.
· Ensuring the design is elastic and can stretch.
The unused powder is removed by lightly vibrating the film. The powder adhering to the ink is all that is left.
Powder Curing Process
The printed film is then put in a curing oven or pressed in a hot press. The idea here is to melt the adhesive powder to a few degrees above room temperature, enough to give a smooth finish. It provides even coverage over the design.
It is necessary to cure it properly, as:
· Under-curing is a reason for peeling the print
· Over-curing causes the transfer of the design to be stiffer
· Proper curing guarantees high wash resistance
A ready-to-transfer film is achieved with a glossy, slightly raised finish.
Preparing the Garment
The garment should be ready before shifting the design.
This includes:
· Wetting the cloth by pressing it.
· Eliminating all wrinkles and lint.
· Guarantees a flat and smooth surface.
The heat transfer stage prevents the print from becoming lumpy due to moisture on a wet surface.
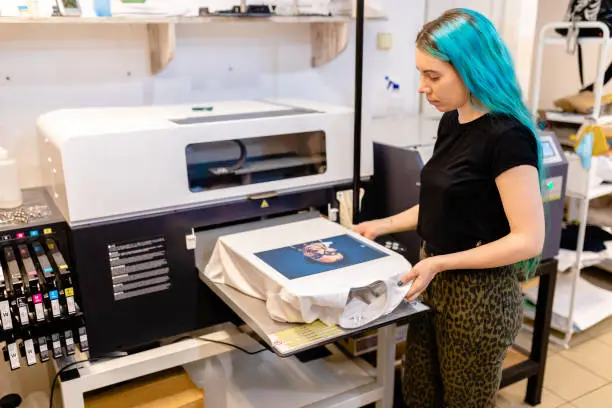
Heat Transfer to Fabric
The ink-side is placed on the garment with the cured PET film. The necessary temperature, pressure, and time are provided by a heat press.
Typical conditions include:
· Time: 10-15 seconds
· Pressure: Medium to firm
· Temperature: 160-170 °C
In the above conditions, the adhesive-coated surface melts again and permanently bonds to the fabric.
Peeling the Film
The process of peeling off the film is done after pressing. The peel can be:
· Cold peel: Once the film is thoroughly frozen.
· Warm peel: A slight warmth in touch.
· Hot peel: Pressing instantaneously.
Cold-peel films are widely used because they provide a smoother finish and sharper edges. The design remains clean and vivid after peeling and is firmly attached to the fabric.
Maximum Durability through post-Pressing
Most of the professionals press once again to improve the durability. This final press:
· Smooths the print surface.
· Increases wash resistance.
· Lessens the film texture.
· Enhances the long-run flexibility.
· Provides the garment with a professional, retail-oriented look.
Why DTF Printing Works Better Than Traditional Methods
DTF printing works better because it addresses several issues experienced with other printing technologies.
Benefits of DTF printing include:
· Works efficiently on almost all fabric types
· No pre-treatment spray required.
· Increased resistance to degradation over HTV.
· Less expensive for small orders.
· Gives smooth, visible prints.
· Gradients and fine details are not challenging to print.
For DTF printer supply seekers, websites such as dtflinko.com often offer valuable information on the materials used in DTF printing.
Conclusion
DTF printing works through a highly coordinated process, including creating a design, printing on film, applying powder, curing, pressing, peeling, and post-press. This results in long-lasting, colourful, and soft designs on a wide range of fabrics. DTF does it all so beautifully, whether it is vividly illustrated or elegantly crafted logos.
You may be interested in the production process of your favourite printed shirt, or you may desire to begin your own small business; knowing how the DTF process works is an excellent place to start. Its convenience, flexibility, and durable prints make it a practical choice among current artists and entrepreneurs.